7 Simple Steps to Hang a Heavy Mirror Like a Pro
1. Gather Your Tools and Materials
List of Tools and Materials You Needed
- Stud Finder: To find studs behind the wall for secure mounting.
- Level: To make sure the mirror hangs straight.
- Tape Measure: To measure the correct placement and spacing.
- Drill: For making pilot holes in studs for screws.
- Screwdriver: For driving screws into place.
- Heavy-Duty Anchors and Screws: For secure mounting, especially if no studs are present.
- J-Hooks or Mirror Clips: To support and distribute the mirror’s weight.
- Pencil: For marking where to drill.
- Safety Goggles: To protect your eyes from dust when drilling.
- Stud Screws: For extra stability by securing into studs.
- Wall Brackets: Optional, for additional support depending on the mirror.
Selecting the Right Hardware for Different Mirror Weights
Knowing your mirror’s weight helps choose the correct screws and anchors.
- For Light Mirrors (up to 20 lbs): Standard plastic anchors and screws are usually enough.
- For Medium Mirrors (20-50 lbs): Use toggle or molly bolts that can support more weight.
- For Heavy Mirrors (over 50 lbs): Consider screw-in anchor hooks or a rail system to distribute the weight across several studs.
2. Choosing the Best Spot for Your Mirror
- First, know your wall type. Drywall needs regular screws, while brick walls need special plugs and a different drill bit.
- Find studs using a stud finder for safety.
- Think about how the mirror will look in the room, like if it’ll catch light from windows or be a focal point.
- Make sure it fits the room’s size and furniture.
- Avoid wires and pipes in the walls and refer to house plans if you have them.
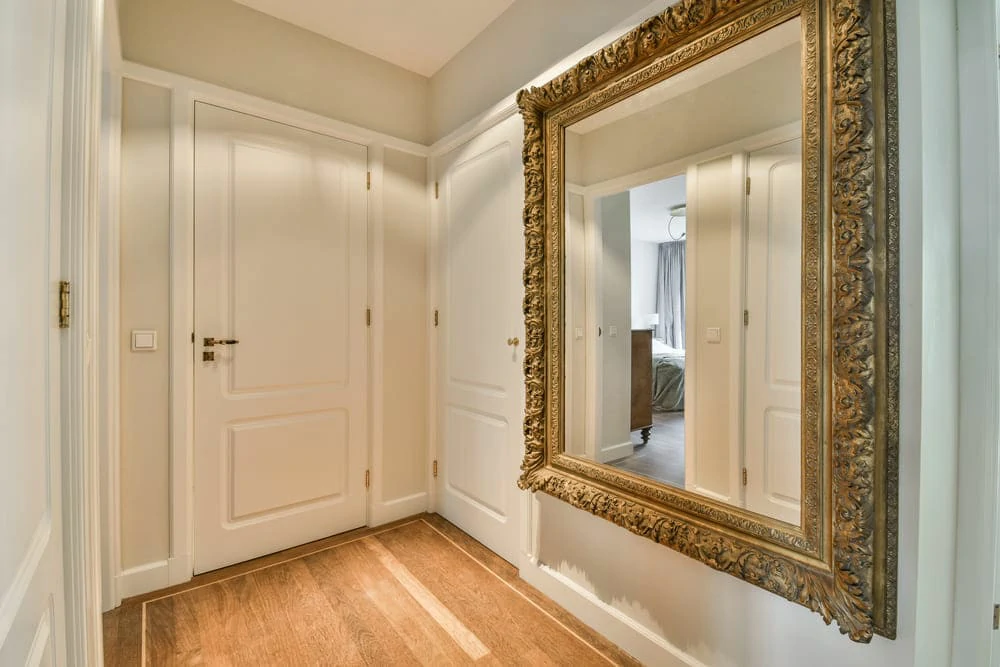
- Place the mirror to make the most of natural light and avoid glare from lights. Hang it straight and at eye level for the best view. And make sure it’s easy to clean and adjust.

3. Preparing the Hanging Area
Before hanging your mirror, prepare the wall by removing dust and debris with a clean cloth or soft brush to ensure clear measurement and marking spots. If the wall is particularly dirty, wash it with a mild soap and water mixture to improve adhesion for any tape or marks. Once cleaned, thoroughly dry the wall to prevent moisture from weakening the grip of the wall anchors or screws.
Prepare the room for hanging the mirror by laying down protective coverings such as a drop cloth or old sheets to catch dust and debris, with a plastic sheet underneath for added protection on carpets. Move furniture away from the area or cover it to shield it from dust, ensuring a clear workspace. Additionally, have a vacuum or broom ready for immediate clean-up of debris from drilling to prevent it from spreading throughout the room.
Safety First is everything when hanging a mirror. Make sure your ladder or step stool is stable, and keep all tools and materials neatly organised to avoid trips and falls.
By taking these steps to prepare your hanging area, you not only ensure a safer installation but also protect your home’s interior surfaces and decor. These precautions can help you achieve a smooth and successful installation process.
4. Mark and Measure the Space for Mirror Hanging
Start by locating and marking the studs in the wall using a stud finder, lightly marking their edges with a pencil for reference.
Measure the height and width of your mirror to determine the spacing for your support hardware.
Decide on the desired height for hanging the mirror, typically aiming for eye level, and mark the centre point accordingly.
From this centre point, use a tape measure to mark out the top corners of the mirror and connect these points with painter’s tape to visualise its placement. Ensure the tape is perfectly horizontal using a level.
Next, determine the placement of the mounting hardware, marking points accurately, usually one-third of the way down from the top of the mirror on each side.
Double-check all measurements and level accuracy before proceeding to drilling, ensuring no interference with electrical wiring or plumbing.
5. Secure the Hardware
To hang your mirror securely, start by using a stud finder to locate studs in the wall where you want to mount it. Mark the stud locations and confirm the hardware placement by holding it against the wall, ensuring alignment with the studs’ centre or strongest part. Use a pencil to mark drill points on the studs, ensuring they are level, and drill pilot holes with a drill bit slightly smaller than the screw core to prevent wood splitting.
If mounting where no stud is available, install wall anchors by drilling appropriately sized holes, tapping the anchor in, and screwing it in place. Align the mounting hardware over the pilot holes or anchors and secure the screws, taking care not to over-tighten.
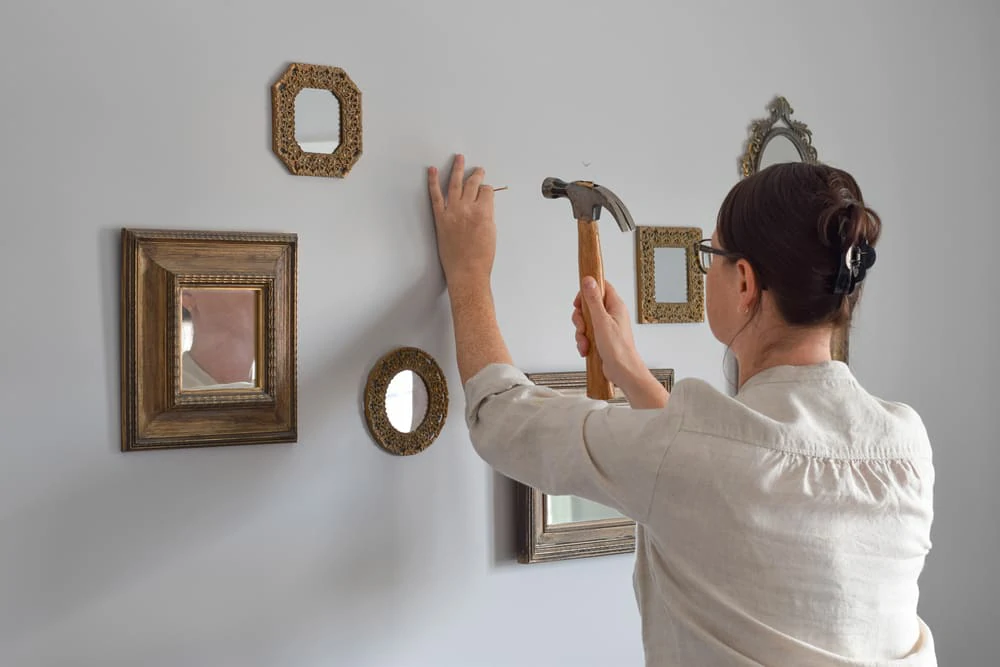
Finally, hang the mirror on the hardware, ensuring it is level, and make any necessary adjustments for perfect alignment.
6. Hang the Mirror
When hanging a mirror, especially a heavy one, careful handling is essential to ensure safety and prevent damage to both the mirror and the wall.
Here are the best practices for lifting, positioning, and securing the mirror
Always enlist the help of at least one other person to assist with lifting and positioning to prevent injury and facilitate easier handling.
Before lifting, clear a safe path from the mirror’s current location to where it will be hung. When lifting, squat down with knees bent and lift with legs, keeping the mirror close to the body and using proper technique.
Hold the mirror securely with one hand on the side and the other at the bottom to maintain control and prevent tilting.
Approach the wall slowly, avoiding sudden movements, and carefully align the mirror’s hanging mechanism with the mounted hardware on the wall before attaching.
Having one person hold the mirror while the other checks alignment can be helpful in ensuring proper positioning.
Don’t Forget to Ensuring the Mirror is Securely Fastened and Level
To ensure the mirror is securely fastened and level, start by attaching its hanging mechanism over the hooks or screws securely, ensuring it’s well-seated and unlikely to slip off.
Once the mirror is on the wall, lightly tug on it to confirm it’s securely fastened and won’t easily come off, verifying the hardware can support its weight.
Use a level on the top edge of the mirror to carefully adjust it until it’s perfectly horizontal; if hanging by a wire, adjust its tension or length as needed. Double-check measurements from fixed points along its width to ensure evenness.
Make necessary adjustments to the hardware or attachment points if the mirror isn’t level or feels loose, engaging any locking mechanisms for added security.
After hanging, clean the mirror to remove fingerprints and dust, and inspect the installation for any signs of stress that might indicate potential issues in the future.

7. Final Adjustments and Safety Checks
Double-checking all hardware, inspecting mounts, hooks, and screws to make sure everything is tightly secured and not strained. Gently tug on the mirror to test its stability; any movement suggests the need for tighter hardware.
Use a level to check that the mirror is horizontally straight and look at it from different angles to ensure it appears aligned.
Check the wall around the installation points for any cracks or bulges that could mean the support isn’t strong enough. Make sure there’s enough space around the mirror to avoid any interference from doors or furniture, which could destabilise it.
Complete the Installation with Proper Cleaning
Clean the mirror using suitable cleaners and a soft cloth to eliminate fingerprints and smudges, and gently dust the frame. Clear any debris from the installation area with a vacuum or broom, and wipe down the walls. Do a final check to confirm the mirror and its mountings are clean, secure, and visually appealing, especially if it’s in a high-traffic area. These thorough steps will help ensure your mirror is safely and attractively installed, fulfilling both functional and decorative needs perfectly.
In conclusion, hanging your mirror correctly not only improves the look of your room but also gives you the satisfaction of completing a DIY project. Let this success inspire you to take on more DIY tasks around your home. Dive into these projects to further enhance your living space and enjoy the personal fulfilment that comes from doing it yourself.